
 Image 1 of 1
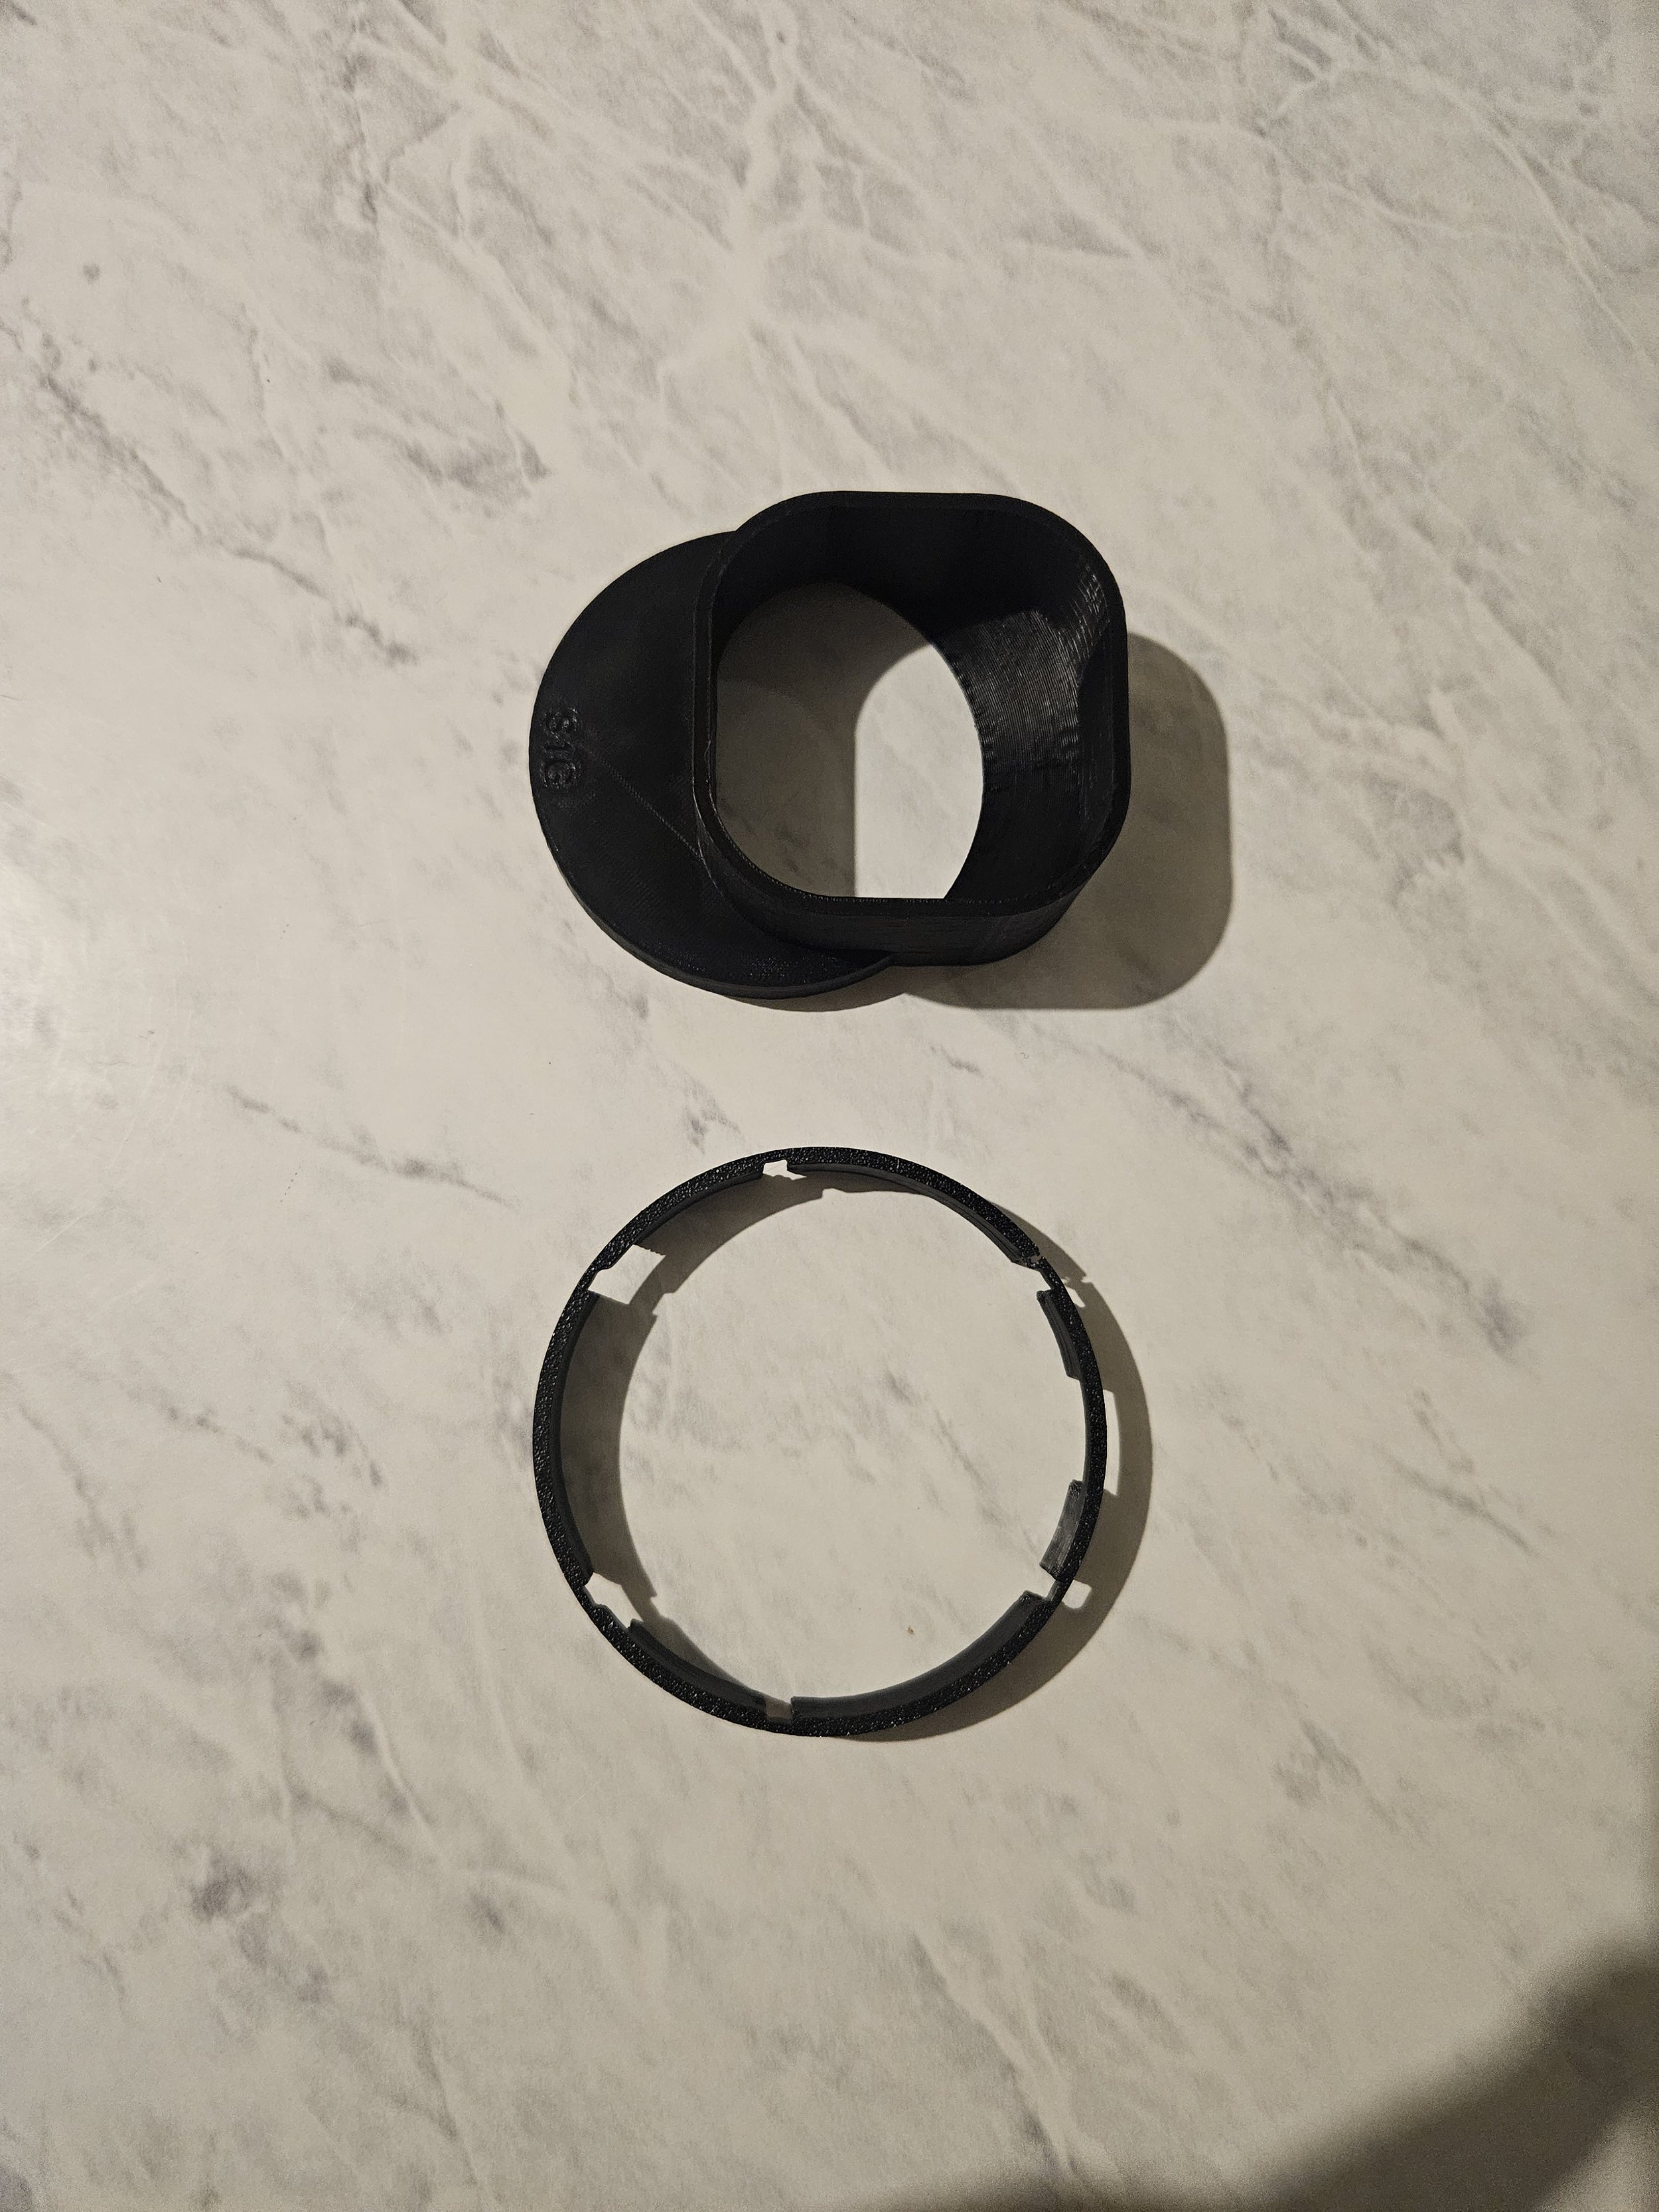
Volkswagen caddy vent adaptors to retrofit a vent from an 8V Audi S3/A3 into your type 2K Volkswagen caddy.
Push the adaptor onto the back of the vent first before trying to fit into the caddy, there is a single larger opening which goes to the top which will be the side of the vent with the gear mechanism.
Then you need to fit the adaptor for the vent inside the dash to ensure that the air flows through nicely, install this onto the bottom of the vent, not pushing it all the way home as when you push it into the dash it will do this- the round side goes towards the gear mechanism.
To remove your old vent, use a couple of flat blade screwdrivers to gently pry them out, being careful not to mar your dashboard as the plastic is very soft.
Jump on youtube to find a tutorial.
To fit the vent into the van, get a stanley knife and carefully trim the lower section out of the hole (As Shown in the images, there is a comparison, where the one of the left is original, one on the right is trimmed) then push the top section in first, then the bottom, it is quite a tight fit, so a light thump with your hand will push it in.
Be warned, because of how thin the ring is around the vent for the dash, when removing them they are extremely fragile and likely to snap in the thinner areas, I've tried to alleviate it by adding more material but i am limited by how much i can add before the adaptor wont work anymore.
Printed in black ABS to alleviate temperature related warping.
You will recieve 4 vent rings and 4 vent rear adaptors in this kit, vents themselves are not included, you will need to acquire those from an A3/S3/RS3 yourself.
This being a 3D printed item may have small visual defects, I endeavour to ensure the quality, and will not ship something not fit for purpose, or i wouldn’t use in my own car.